
Written by Jonathan Silva
Devs, when it comes to Axosoft, we want you to get in, get out, and back to doing your thing. You really only need to do three actions to contribute to your team:
- Log in
- Log your time
- Update workflow steps
The three actions above give your team a clear understanding of what’s going on. Allow us to break down these three lovely bullets further and get you on your way.
Log In
You’re logged into your Axosoft account–yes! If this is your first time, then you’ll be prompted to take a tutorial (which we recommend taking). If you prefer to learn by experience, then you can also hit the red “Stop Tutorial” at the bottom of the screen.
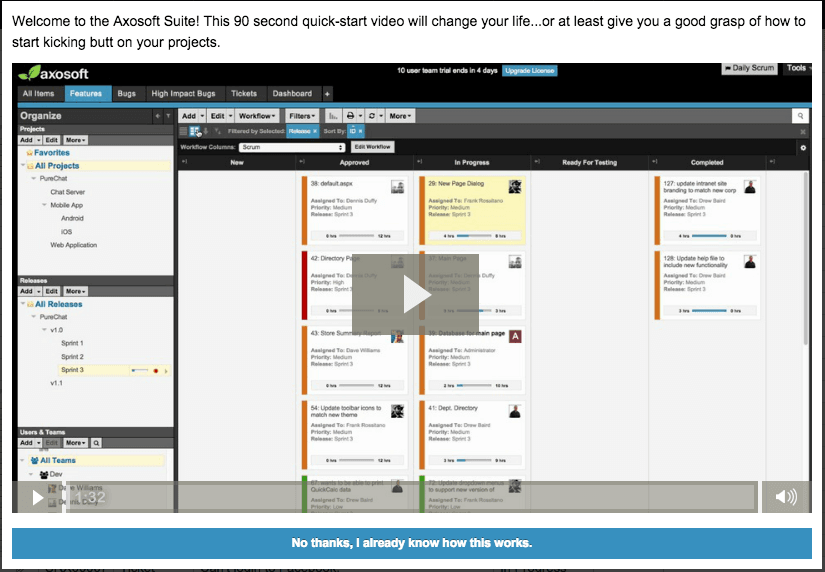
Press play in the app!
We do have a means to fast-forward this step if your team runs TFS, GitHub, Bitbucket, VSTS or GitLab for source control (see the Source Control section below).
Log your time
You just finished today’s work and it’s time to tell everyone how it went. Axosoft passes along this info in what we call a worklog, and it’s pretty straight-forward.
First, find your item and then use the keyboard shortcut “W” or access it from the “Details” panel. If you love the card view, click on the progress bar in any card to bring up the worklog window as well.
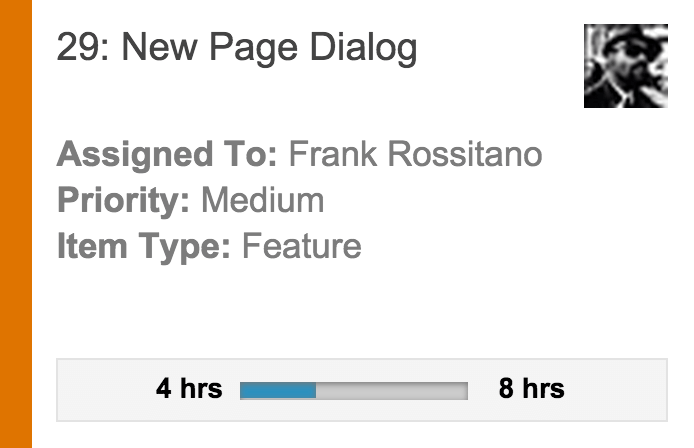
Click the bar to jump to a worklog from Card View
From here, just communicate what you see and then save.
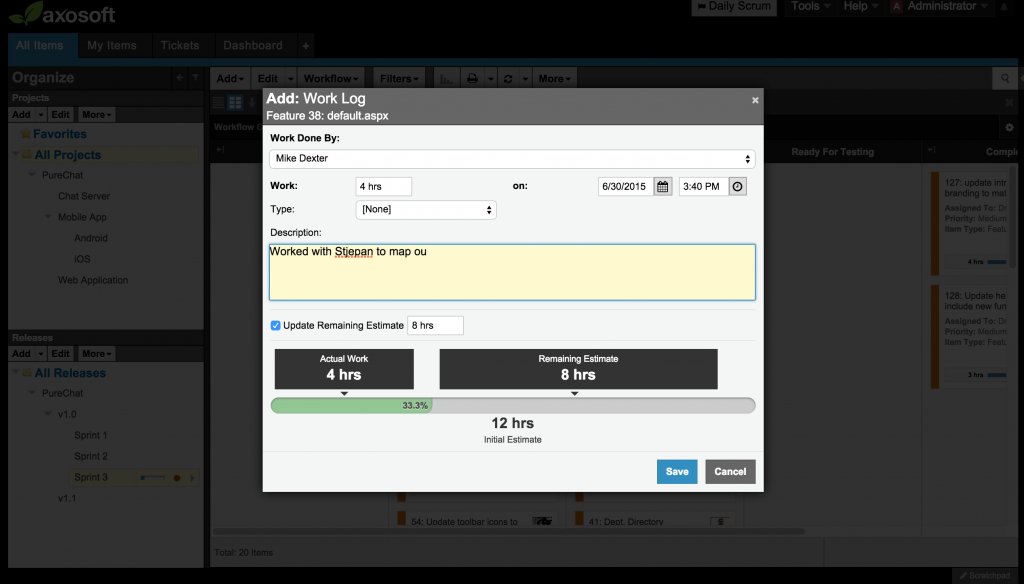
Update your work with worklogs. PM’s really like this for some reason 😀
If your team has a copious amount of items, consider reviewing my bonus material on filters and views below to bring up those items every time you log in. TFS, Github, or Tortoise SVN users also get a worklog shortcut (again, see the Source Control section below).
Update workflow step
Your team likely works in some series of steps or stages. Axosoft calls these processes “workflows,” which are comprised of workflow steps. For example, you might need to first place a bug in the “Verify” workflow step before you then move it to “In Progress” once it has been confirmed.
Whether or not this sounds familiar, updating the workflow step in Axosoft is a breeze. Most users either use this drop-down menu or they just drag and drop the item into the next workflow step column. This is my favorite step, especially when I’m done with items.
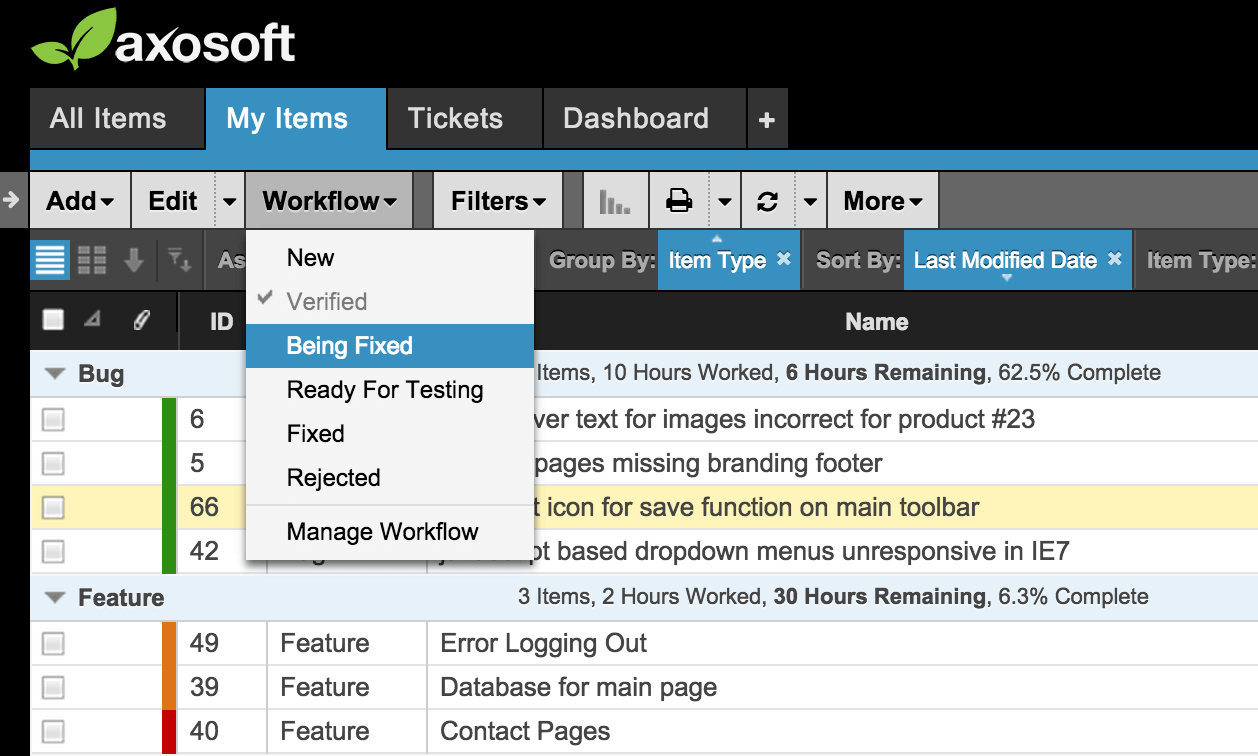
Use this dropdown menu for List View or Card view to change the workflow step.
There you go! By following these steps, you have provided the most crucial data for answering the question: when are we projected to ship? Now for the bonus material.
Filters and Supertabs
Filters and Views are indispensable for finding your items within two clicks. For example, perhaps you want to create a View that shows only items assigned to you and that are not completed. Or, maybe you want a View that shows items assigned to you and your team that are due in the next two weeks. Both are easy to set up.
First, create your filters by clicking the “Filters” button in the toolbar. Add your filter conditions, and invoke your propensity to write logical statements:
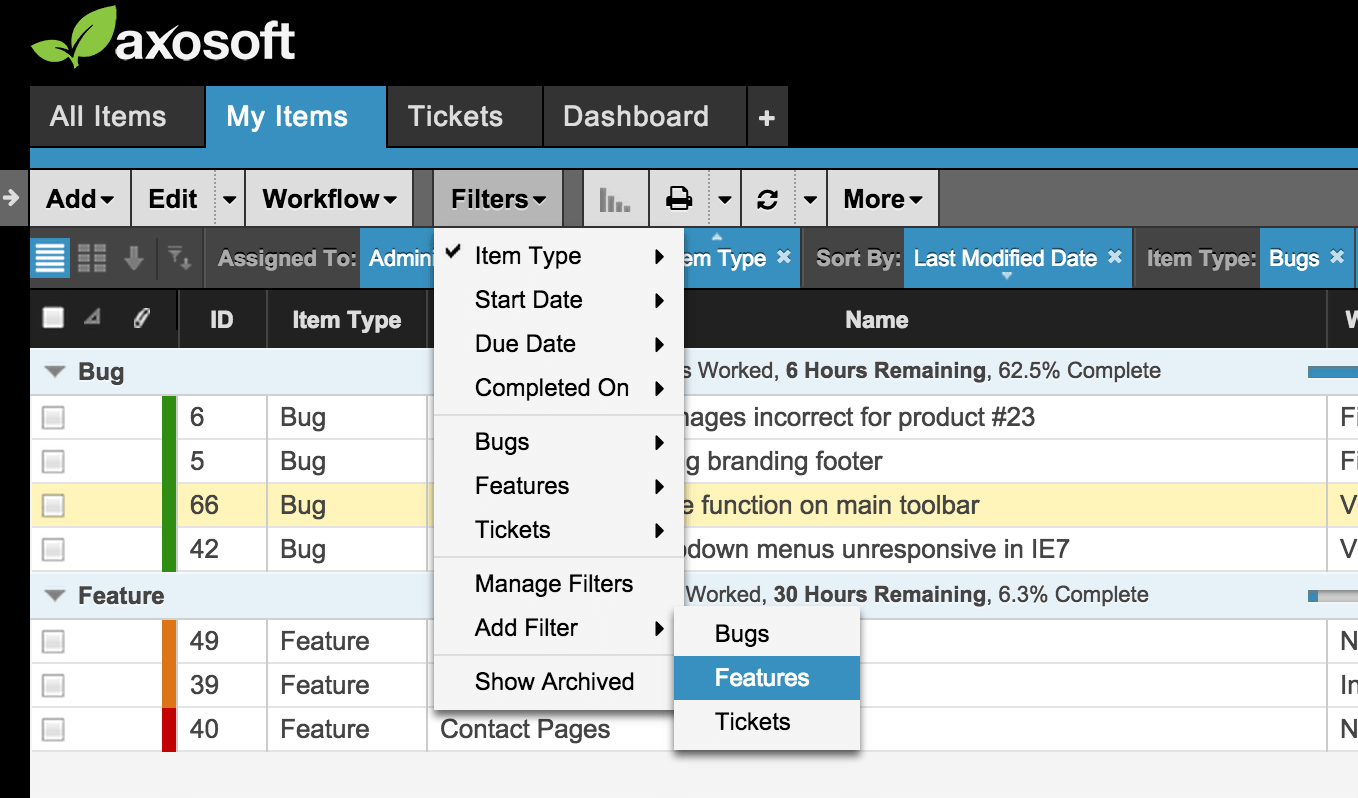
Click to add a filter from your workspace.
You should get something like this:
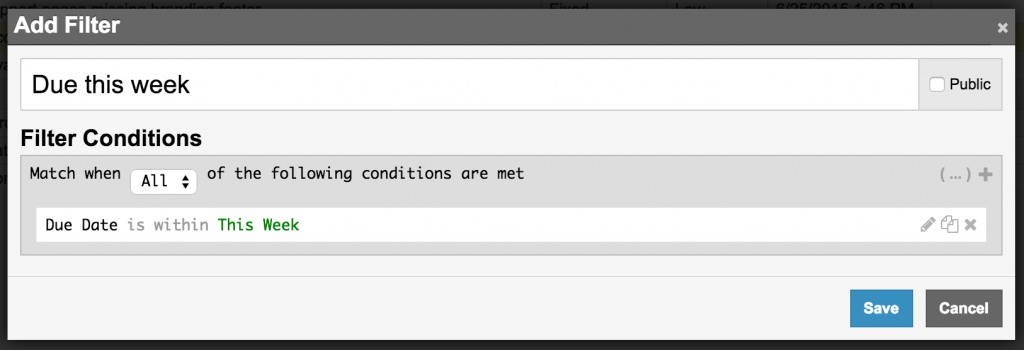
Your logical cranium should come in handy here.
For many folks, this filter is actually enough. You can turn it on and off as you please and work out of here from this point forward. However, if you also want to save the project folder, release, users, grid columns, filters and more then you can save this as a tab. Click the + icon or right-click on your current tab to save what you see:
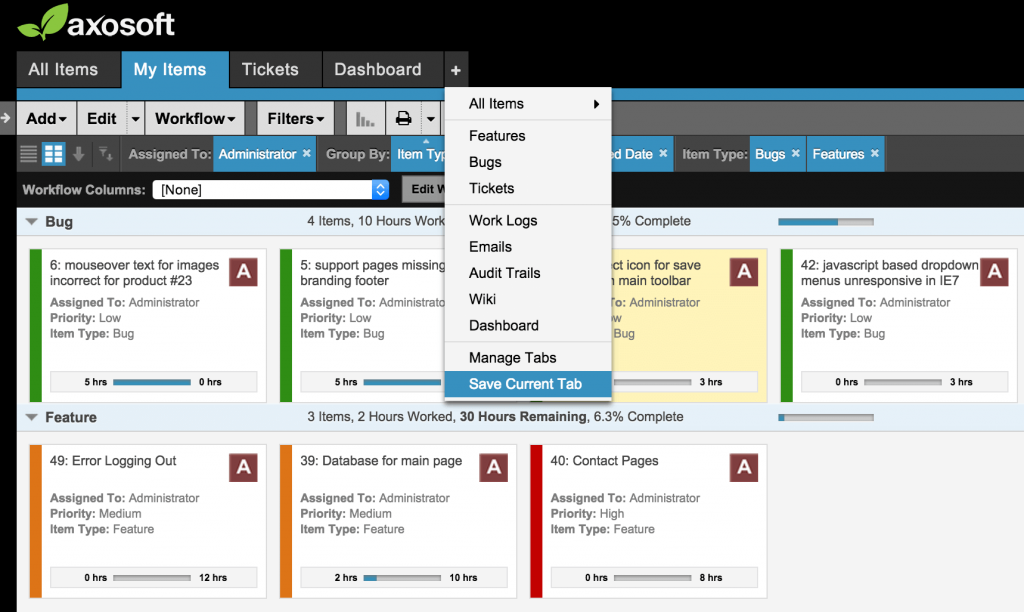
Save your view as a tab. It makes things quite convenient.
Your administrator(s) may have already created filters and tabs for you, so be sure to check with them too.
Source Control
Lastly, if your team uses Team Foundation Server, Github, or Tortoise SVN then you can do the following without logging into Axosoft.
- Tag an item with a source control commit
- Send comments to an Axosoft item
- Log a worklog against an item
As long as you jot down your Axosoft ID number, you should be able to log your work against your items without having to log into Axosoft. You will, however, need to log into Axosoft to change workflow steps–but that’s just a simple drop-down menu change, or a drag-and-drop into the appropriate workflow column.