
Written by Jonathan Silva
Your product should always be your priority. Your company’s product requires a vision, and many agile teams look to the Product Owner to set that vision. Whether you use the term Product Owner or another term such as Product Manager, we’re here to share how you might use Axosoft in that role. Let’s start with a few key outcomes Product Owners strive to accomplish:
- Maximize the number of features that can be completed within a release.
- Decrease the time it takes to turn feedback into prioritized backlog items.
- Decrease the time it takes for feature requests to be understood by the development team.
- Increase the Return On Investment of work (e.g. features).
The outcomes listed above depend heavily on how the Product Owner decides to manage their product backlog, which is where Axosoft can help! As in our previous Use Case articles, we’re going to assume you are familiar with the Axosoft basics. If not, start with this video series or go through the opening tutorial again.
How do I manage my backlog?
Project folders are the best place for your backlog in Axosoft. Every item lives in a project folder inside the Organize Panel, regardless of item type, and its tree structure gives you the flexibility to nest your data in a way that fits your organization style. If you want to keep things simple, you can keep everything in one project folder, but we’re going to show you something more advanced.
What is a backlog example in Axosoft?
Consider managing your product backlog over multiple project folders. Here’s an idea of one potential tree structure:
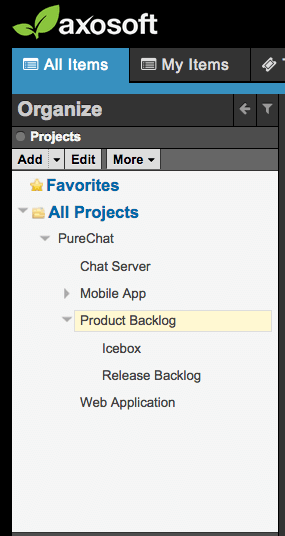
In this example, we are nesting the icebox and the release backlog under the Product Backlog folder.
Feature requests come in from customers, from the team internally, and from everywhere in between. These requests land in the general “Icebox” project folder for review by the Product Owner. He or she (or insert your preferred gender pronoun) has them color-coded by workflow step:
- New
- New feature request from the team, customers, etc.
- Rejected
- Request is closed and rejected.
- Approved-Icebox
- This means that this is a good feature and will be considered for future releases.
- This item stays in the Icebox for now.
- Approved
- This request will be moved into the upcoming release backlog.
- Special workflow setting enabled.
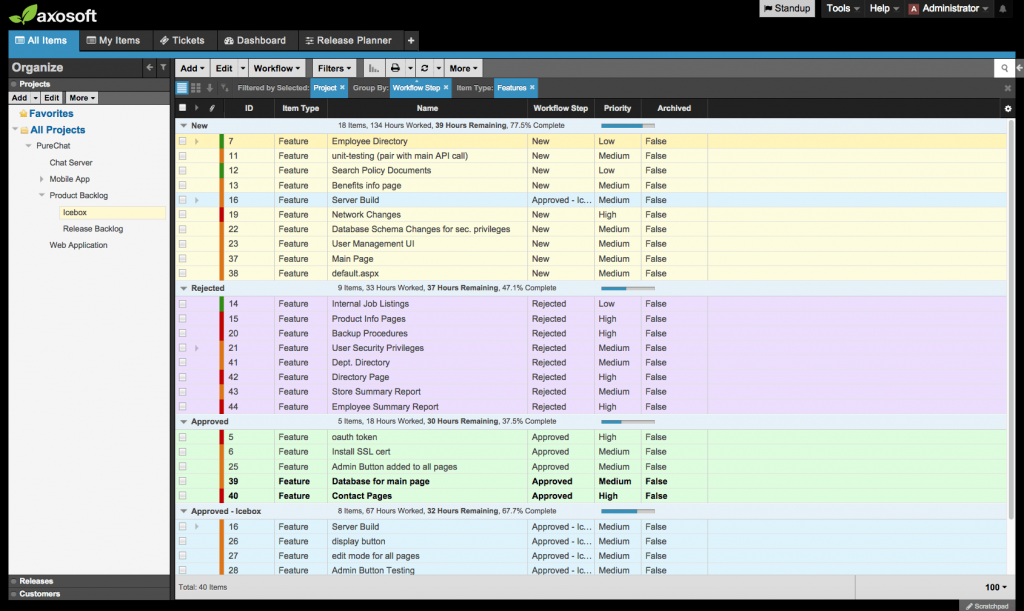
Here we have grouped by workflow step (and color) for the Icebox project folder
In this example, we did something special with the Approved workflow step. We configured a step action to detect when an item has been placed into the “Approved” workflow step, and automatically move that item over to the Release Backlog project folder.
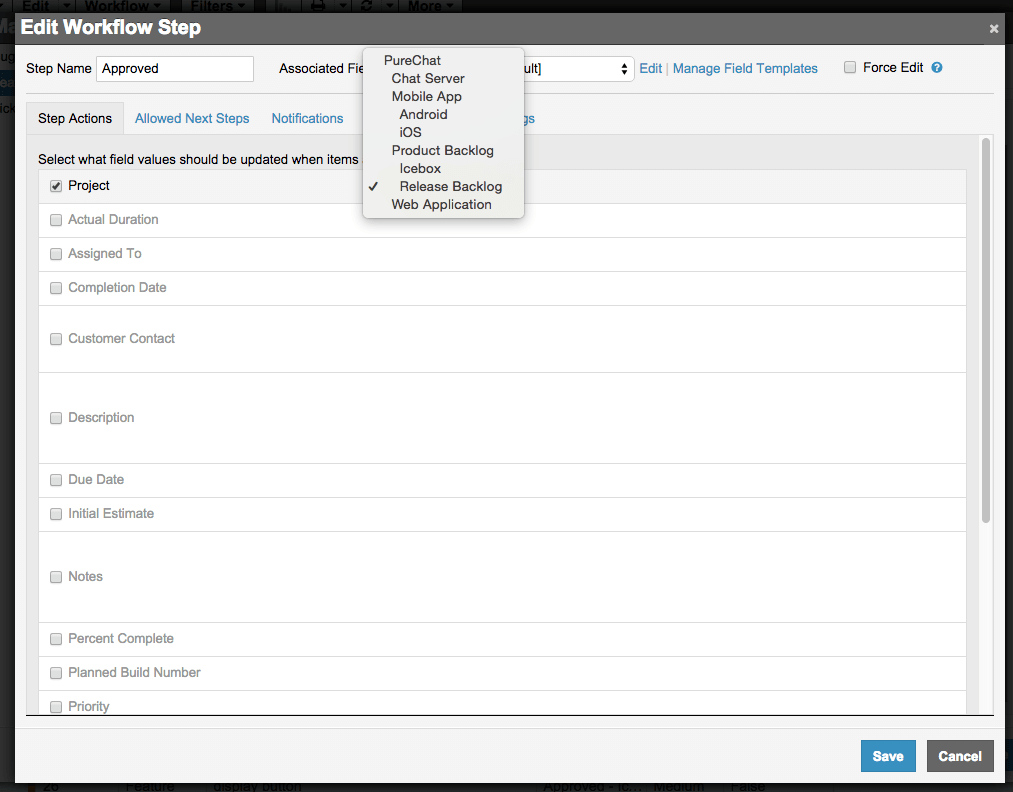
Editing the Approved workflow step, I can change the assigned project of any item that gets approved.
This helps to triage and collect the most valuable requests into one backlog for the next level in refining. We’ll come back to this Release Backlog folder shortly.
How can I populate my backlog with requests from my team?
If you are making ample use of the help desk functionality in Axosoft, then you are likely getting a good share of feature requests from your ticket volume. Similarly to how you can escalate issues as defects, you can do the same for feature requests. I recommend watching this video for all the details (and just substitute the word “bug” with “feature request”).
Otherwise, you have a few more options. First, you can open up your customer portal and provide a tab for feature requests. Your customers might get overenthusiastic though so proceed with care on this front.
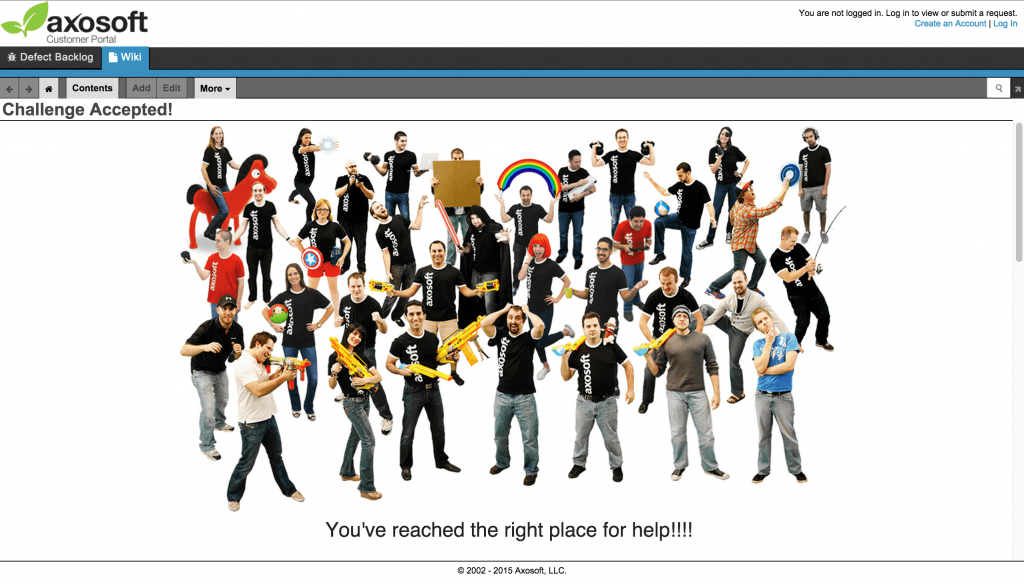
Here’s an example of our Customer Portal.
Next, you can import items from a CSV spreadsheet into your backlog. This may come in handy if you need to perform a bulk import of existing feature requests.
Lastly, you can manually create each request like you would any item. This is a fantastic catch-all.
How do I groom my backlog in Axosoft?
Let’s go back to our Backlog project folder example. Managing the product backlog is an ongoing activity and typically requires the following from the Product Owner:
- Order the backlog by business value
- Remove or demote items that have lost business value
- Add or promote items that have business value
- Split items
- Merge items
- Associate/relate items (as a way of indicating business value)
In our example, we just promoted some of our Icebox items into the Release Backlog. We also rejected a few requests outright, while placing others on hold for the future. This takes care of the second and third bullets, and rank mode will take care of the first. In list view, Rank Mode is enabled by toggling this down arrow in the main toolbar.

This is where you rank.
Once enabled, we can drag and drop each backlog item and order them based off our business value criteria. Don’t worry if you have pages of items to go through here in Axosoft; rank mode will persist across pages. Consider, however, throwing in a filter or removing items altogether to preserve the utility of your backlog. Access the context menu (right-click) to add to top, or unrank quickly.
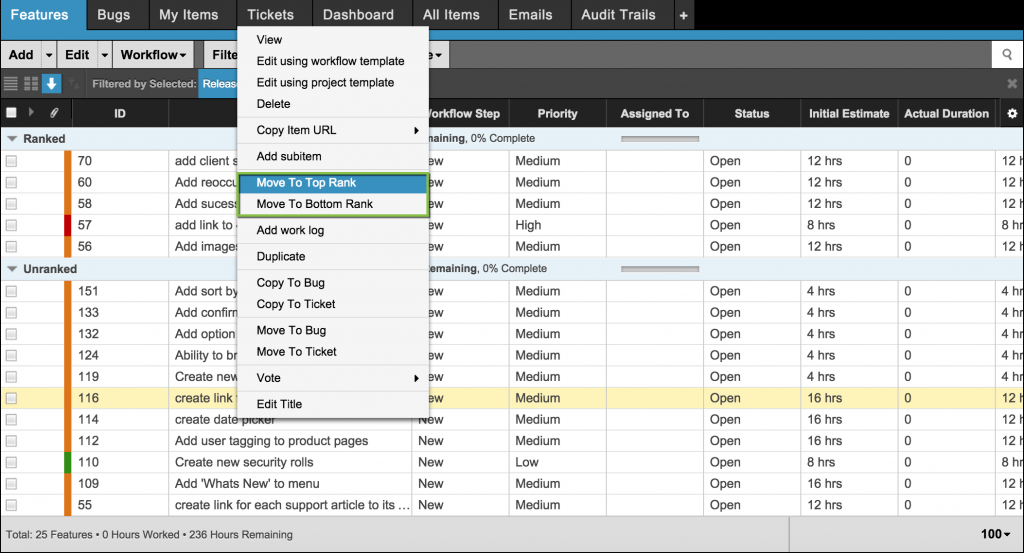
Pleasant shortcuts courtesy of right-clicking.
Once you leave rank mode, go back to list view and “Sort by Rank” to see where your backlog stands.
If you don’t have access to rank mode, you can at least sort by rank.
If you want to merge or split items then consider making use of subitems. To merge duplicate items, you can nest them under one parent item by creating a new parent item and then just dragging and dropping the duplicate requests on top of it. If you’re feeling fancy, you can also use related items to handle duplicates and prioritize only the primary item.
Subitems are helpful for splitting items too. I have also seen folks duplicate an existing item and simply adjust the information to reflect the “split.” This would be great if one item turns out to be two or three requests in one.
How can my team access my groomed backlog for release planning?
Everything we have done so far in our example will culminate with the Axosoft Release Planner. First, let’s select the Release Planner tab in Axosoft:
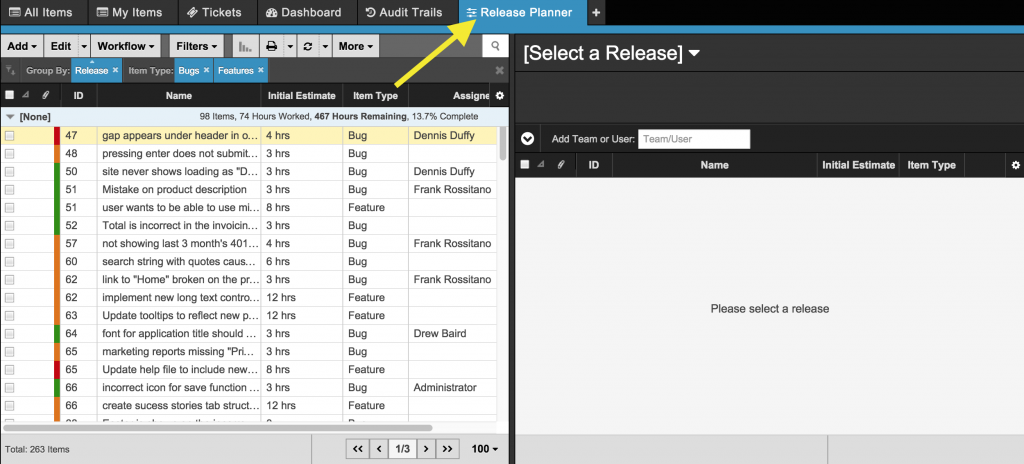
Here it be.
Next we want to make sure our example Release Backlog folder is selected in the Organize Panel.
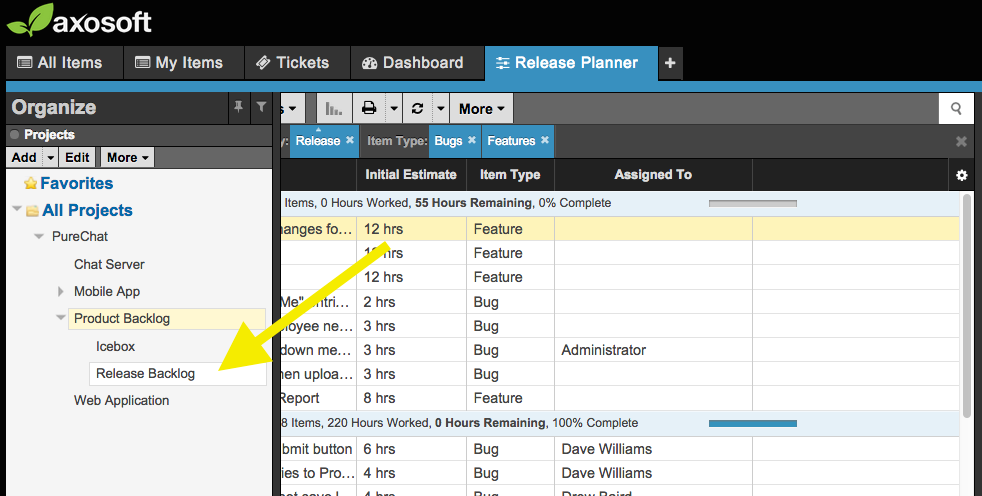
Click your backlog folder
Next, let’s sort by rank–and now you are ready to plan your release. From here, you build out your upcoming release. Yes!
If you want to see the release planner in action, check out this video or this other video. For now, consider making this a part of your release planning meeting. Show the team where everything stands in the backlog, and begin to answer the two major release planning questions:
- What will get done in this release?
- How will it get done?
As you begin assigning items to your team members, you will gain insight into how much work each team member has on their respective plates, and how much more work each team member can fit into this release.
Alternatives
You are not required to jump straight to the release planner for your release planning meeting. We have seen teams create an additional project folder that represents the official backlog for their sprint or release. So in addition to the grooming made to the Backlog folder, a Product Owner might move items to a Sprint – “August 2015 backlog” while running the release planning meeting. This allows the team to draw from the Backlog folder for subsequent releases as well.
Final thoughts
Alright, so let’s review those top outcomes from earlier:
- Maximize the number of features that can be completed within a release.
- Decrease the time it takes to turn feedback into prioritized backlog items.
- Decrease the time it takes for feature requests to be understood by the development team.
- Increase the Return On Investment of work (e.g. features).
Axosoft is but one tool that you can maximize to get the outcomes listed above. Product Owners will also need to strive for constant communication between all levels of their organization. It’s a challenge, and we hope the above saves you time and sweat!